Details
- Name:
-
Bullion Knot
aka: Bullion stitch, caterpillar stitch, coil stitch, worm stitch. - Difficulty:
Hard
- Structure:
Knotted Raised Whipped
- Technique:
Crewelwork Stumpwork Surface
- Uses:
Embellishment Filling in Flower part Shading
Watch this video on YouTube.
Overview
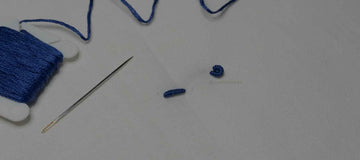
A long wrapped knot used singly to embellish designs or in groups to produce a textural filling stitch.
The Bullion Knot is an intriguing stitch often used to create simple motifs. It's essentially an "elongated" knot that can be applied generously to form dense textures. This stitch offers an embossed appearance, making it a key component in Brazilian embroidery, known for its 3D effects.
For best results, use a Milliners needle when working with the Bullion Knot. Milliners needles are uniformly thick along their entire length, making it easier to pull the wound thread through the fabric. Using this type of needle can save you a lot of frustration and make the process much smoother - of course it is not required, though.


History
The earliest known evidence of bullion knots dates back to the 16th century, where they were used in both English embroidery and Italian cutwork. Guimarães embroidery from Portugal also featured bullion knots as one of its hallmark stitches.
Although this technique dates back to the 10th century, it is unclear when exactly bullion knots became part of it. By the 17th century, bullion knots had become more widely used; a Portuguese stitched sample book in the Metropolitan Museum of Art in New York includes bullion knots, as do existing pieces of English stumpwork from that era. In the United States, bullion knots were listed as one of the stitches taught in "sampler schools" until the mid-19th century, demonstrating their continued popularity and importance in embroidery education.
Projects
Here are some projects you can complete that include this stitch!
Reference: RSN Stitchbank


