Details
- Name:
-
Stem Stitch
aka: Crewel Stitch, Rope Stitch, Stalk Stitch - Difficulty:
Easy
- Structure:
Looped Solid-line
- Technique:
basic crewelwork ribbonwork surface
- Uses:
Leaf Veins Outline Stems
Watch this video on YouTube.
Overview
Stem Stitch ranks among the simplest stitches, often among the first taught to beginners. Interestingly, embroidery work is frequently referred to as Crewel Work, even though the actual Crewel Stitch (Stem Stitch) is not as commonly used in it. This discrepancy can lead to confusion regarding whether Crewel Work exclusively involves the Crewel Stitch (Stem Stitch).
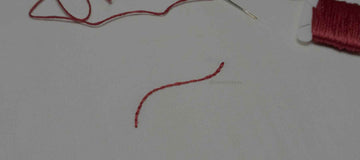
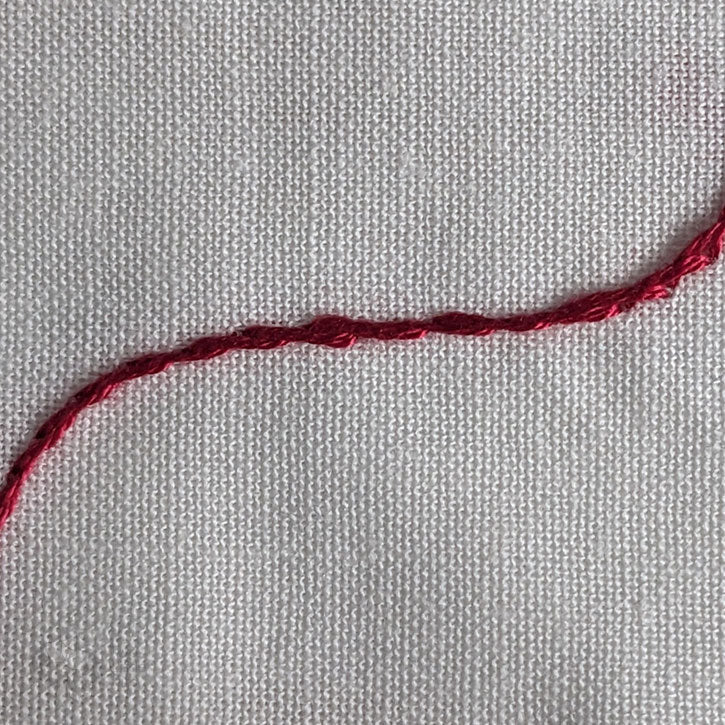
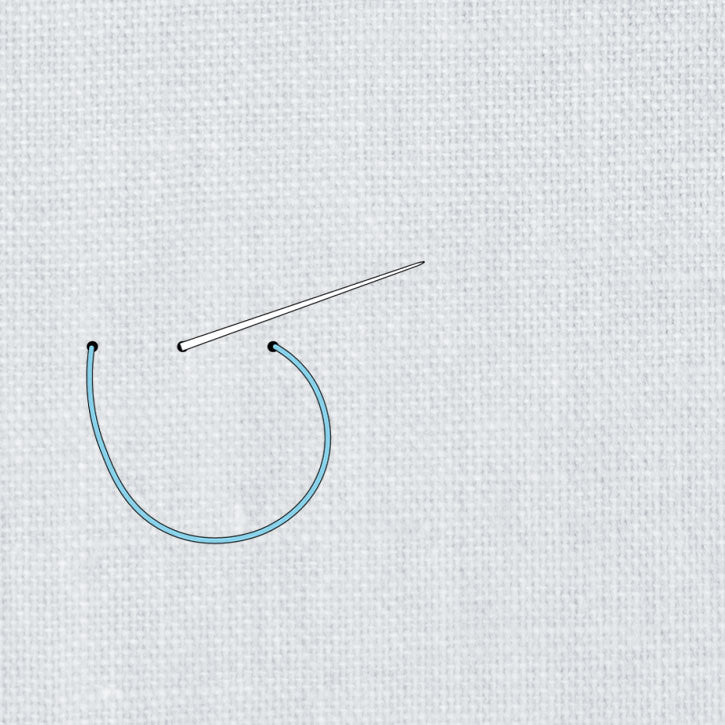
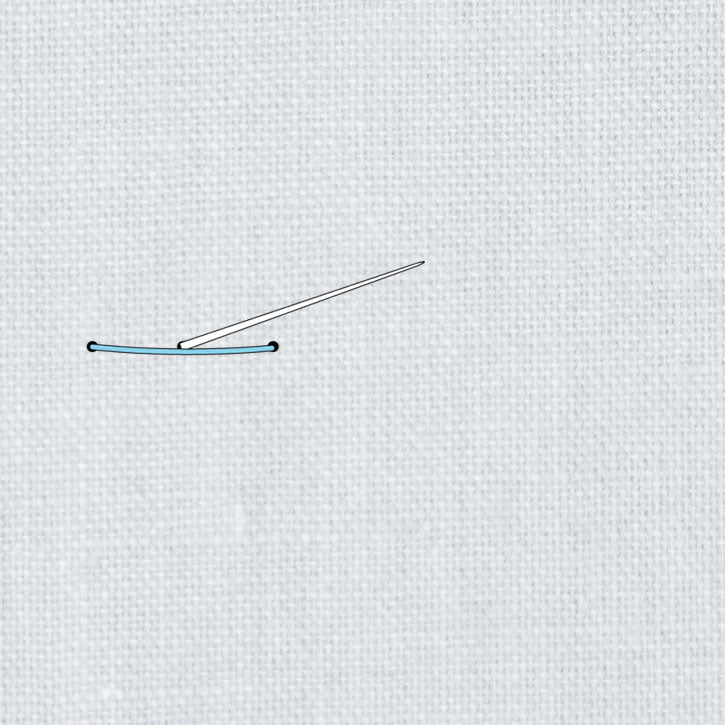
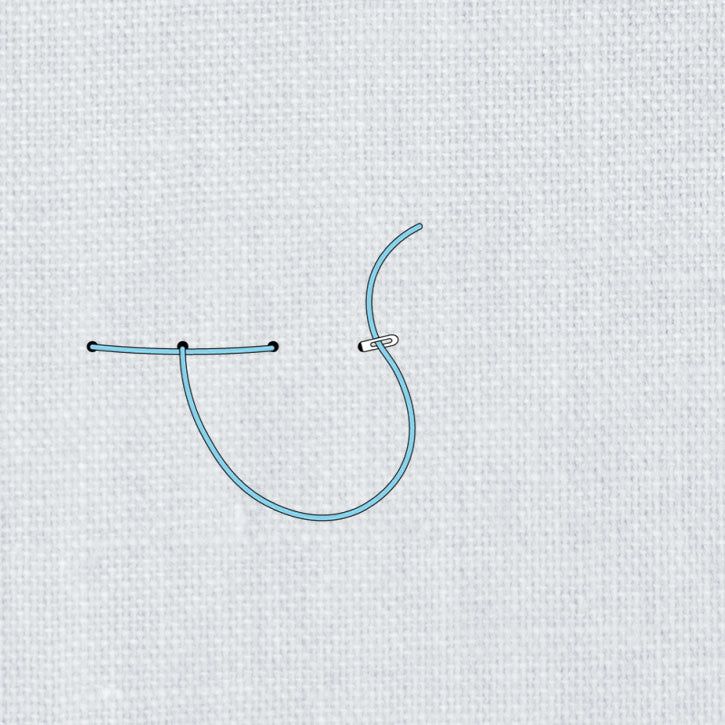
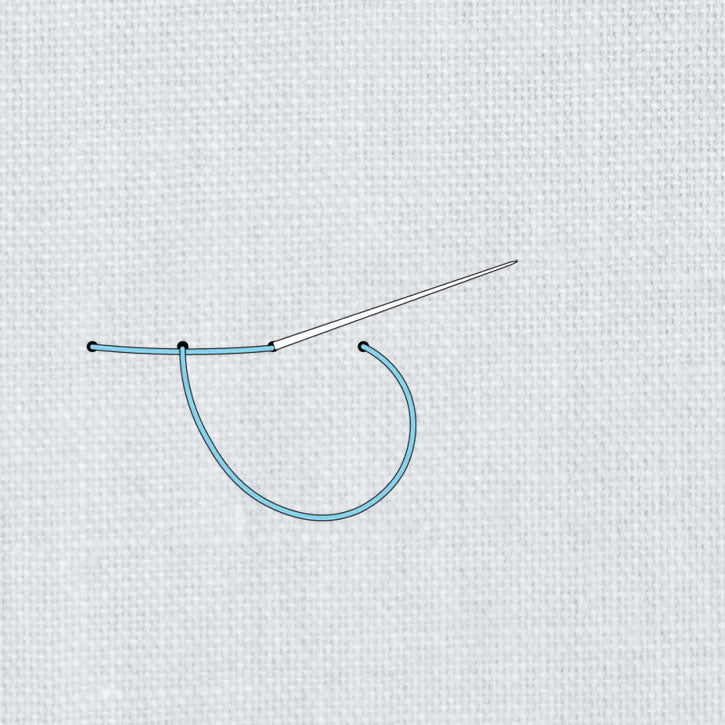
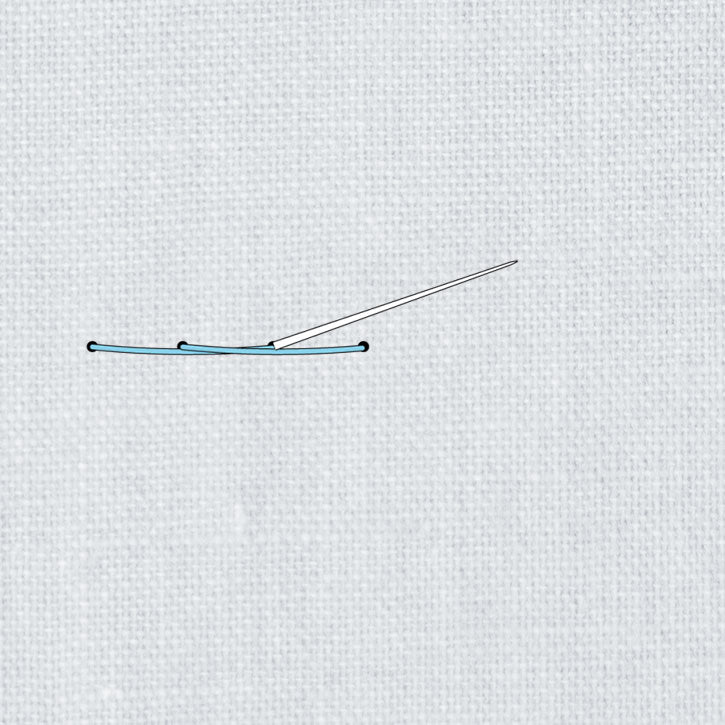
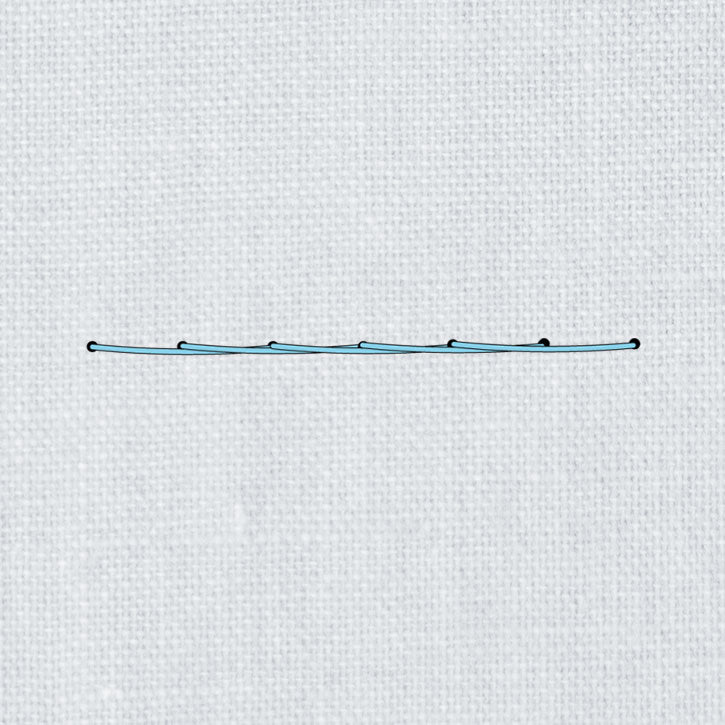
The stem stitch entails consecutive straight stitches, where each stitch emerges beside the preceding one, creating a cord-like line, whether curved or straight.
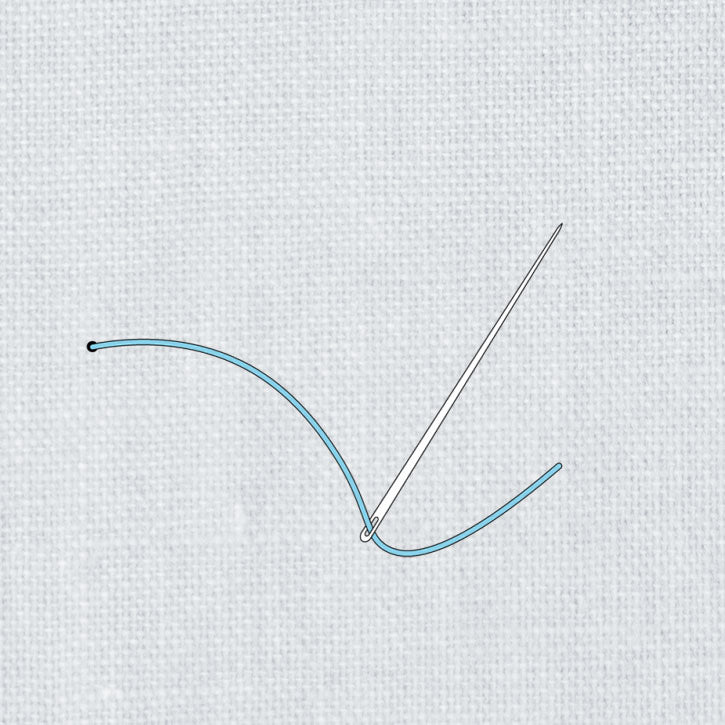
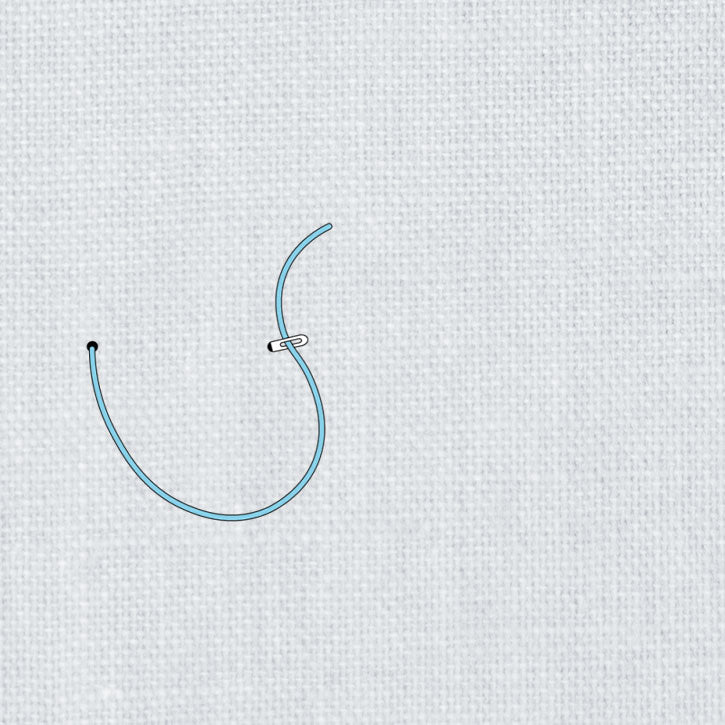
Method
When sewing a stem stitch on tight curves, shorten the length of each stitch to ensure a smooth curved appearance of the stitch line.

History
Evidence of Stem stitch has been uncovered in ancient Egyptian and Peruvian grave artifacts dating back to the 14th century BC and between 600 and 200 BC, respectively. Subsequent excavations at sites such as Kellis in Egypt (1st-5th centuries AD) and Mammen in Denmark (970 AD) further attest to the historical use of Stem stitch. In Peru, Chancay open weave darning utilized a lengthy Stem stitch to adorn gauze fabric with an open weave.
Throughout history, Stem stitch has appeared in various cultural and historical contexts. It adorned the Bayeux Tapestry in the 11th century, featured in Icelandic ecclesiastical works around the 15th century, and found its place in 17th century English Jacobean embroidery. By the 18th century, Stem stitch was utilized in diverse settings, including on Mandarin squares in China, as a primary stitch in Candlewick embroidery in the USA, and in shadow work. Its usage extended into the following century, employed in whitework and Broderie Anglaise embroidery, as well as by William Morris in his recreation of 17th century embroidery. Stem stitch was also utilized in Kashmir to outline motifs and found more general usage in locations such as Chinai in India and Meknes in Morocco.
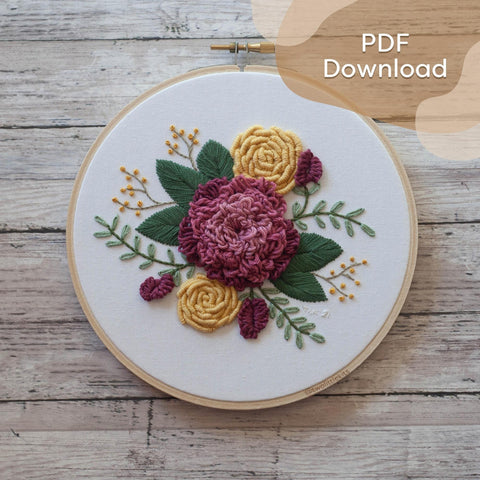
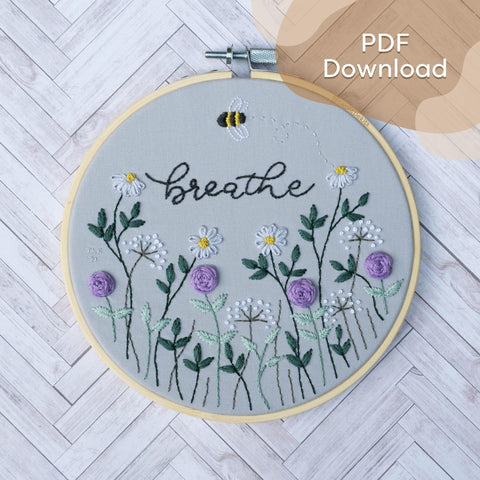
Projects
Here are some projects you can complete that include this stitch!

Reference: RSN Stitchbank