Stitched something? Let's finish it in a hoop!
So, you've stitched something awesome. I hope you're proud! That's hopefully the start of a new, life-long hobby you've now got. But now that you've finished it, you want to display it proudly. And what better tool than the hoop you [might've] used to stitch it with? Well, let's get started!
Things you will need:
Before you can get started, here is the supplies you will need to complete this task.
- Your finished piece - ideally with a minimum of 2-3 inches (5-7.5cm) of space around the longest edges
- An embroidery hoop - ideally with a screw top that allows for a screw driver to tighten
- Floss in whatever colour you wish (I like something that either matches the fabric or pops with the piece on the front
- A sharp needle with a larger eye
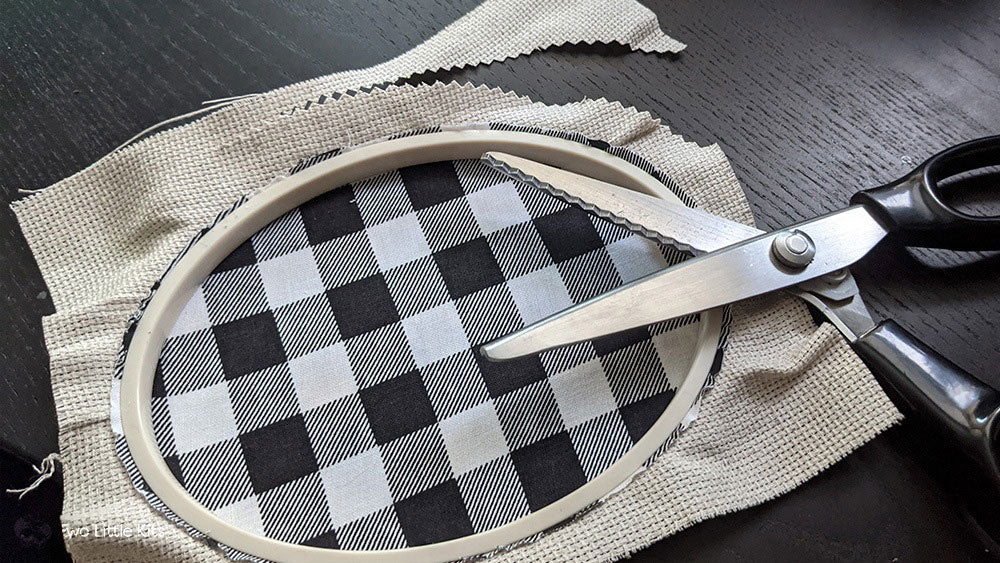
- Sharp fabric scissors
- (Optional) Some cotton fabric for the back (which will cover your hoop butt)
- (Optional) "No-fray" fabric glue
So what are we doing?
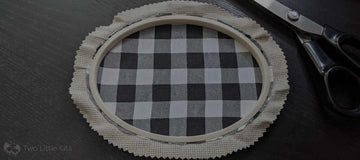
- We're going to trim the backing fabric so it is "hidden" with the finished product.
- Then we're going to trim the Aida fabric (or linin, evenweave, etc - whatever your piece is stitched on!) leaving space for stitching.
- We'll then take our needle & thread and do a running stitch.
- If you're up for it and you can put on some Fray Check (or similar) to keep the fabric from splitting/fraying/disintegrating.
- Then, we pull! Pull the running thread ends together and tie it off. Ta da!

Now, let's see those steps visually…


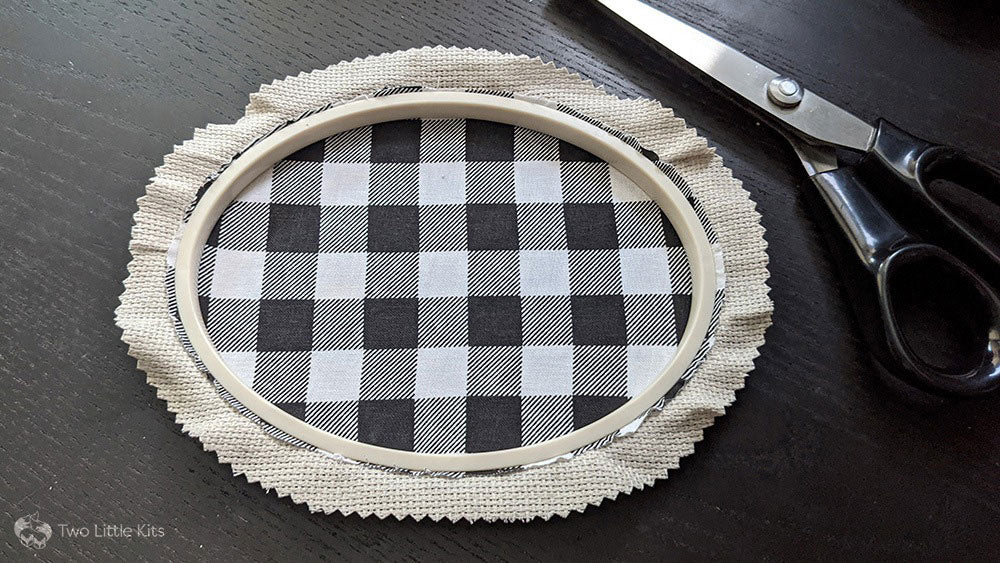
Once you have the fabric nice and trimmed, it's time to take your needle and floss, and do a running stitch around the whole hoop. I like to start my thread with a long tail, so I can take the two [inevitable] thread ends and tie a bow in them. But you can do it however you please!
Let's get started!

Now that you've met the two ends of the floss up together; pull! Cinch the fabric so it sits on the inside of the hoop tightly. Don't pull too tight that you might split the floss but tight enough that the hoop will sit relatively flush if you were to lay it on a table or hang it on a wall.
And that's it! If you have any questions, please post a comment below and I'll help how I can!
I really like this way of finishing an embroidery hoop at the moment. It gives it a bit of character, it isn't very fiddly, doesn't require many materials and can be done very quickly (especially compared to the other way of finishing an embroidery hoop I've posted about!). Let me know what you think!