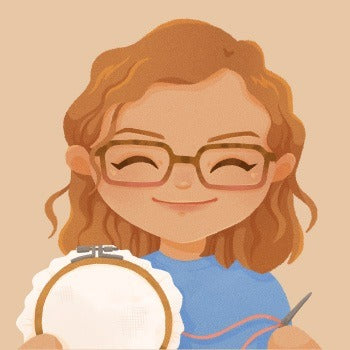
The Post-Stitch "Spa Day"
There is something so special about the moment you pull your needle through the fabric for the very last time. Whether it's a tiny ornament or a massive year-long project, that finish represents hours of your time, your patience, and your creativity.
Before we rush off to find the perfect frame or start "New Start" scrolling, I like to treat my work to a little "spa day".* It's a quiet, gentle ritual that transitions a piece from a work-in-progress to a finished heirloom. It's not just about cleaning; it's about celebrating the work you've done.
-
A Gentle Wash
Even if your hands felt clean while you worked, our natural skin oils and the inevitable "hoop marks" from tension can settle into the fabric over time. Giving your piece a soak is the best way to freshen it up.
Fill a clean sink, a small basin or a bucket with cold-to-lukewarm water and add a tiny drop of mild dish detergent (something simple like Fairy or Dawn works wonders). Submerge your stitching and let it soak for a bit. The most important rule here? Be gentle. There's no need to scrub or agitate the fabric — just a light swirl is enough. We want to lift the oils away without stressing those beautiful stitches.

Time to take a bath! -
Drying Without the Stress
Once your piece is clean, resist the urge to wring it out! Wringing can distort the fabric and pull your tension out of whack. Instead, lay your stitching flat on a clean, absorbent towel.
I'm a big fan of the "towel roll" method: place your damp stitching on the towel (or between two, depending on sizes), roll the towel(s) up like a Swiss roll, and give it a gentle squeeze. This gets rid of the excess moisture without any harsh twisting. After that, let it lay or hang flat until it's just slightly damp — that's the perfect time for the main event.

Roll that baby up to begin drying! -
The Secret to a Crisp Finish
Ironing is where the magic happens, but there is a trick to doing it properly so you don't lose that lovely texture we love about cross-stitch.
- Face-Down is Best: Lay flat a clean, fluffy towel on your ironing board.
- The Cushion Effect: Place your stitching face-down on the towel.
- Pressing, Not Sliding: As you iron the back of the piece, the fluffy towel underneath acts as a cushion. This allows the cross-stitches to sink into the pile of the towel rather than being crushed flat against the ironing board!
This simple step is the "secret" to getting a crisp, professional finish while keeping your stitches looking plump and dimensional. It's incredibly satisfying to see those hoop or q-snap creases vanish!

Time to flatten! -
Take a Moment to Admire
Before you move on to the next thing on your to-do list, I want to encourage you to just… sit with it for a moment. Hold your clean, pressed, beautiful work in your hands. Notice the colours, the neatness of the rows, and the fact that you made this.
Handmade work takes time -it's a slow, grounding practice- and you deserve to enjoy the "done" just as much as the "doing".
Happy stitching (and washing!),
🧡 Kate
All washed & pressed — looking gorgeous!
*When to Skip the Spa Day
One very important "check before you soak" rule: if you have used hand-dyed floss or hand-dyed fabric, please skip the washing step entirely!
Because these materials are often dyed in small batches with artisanal methods, the colours may not be fully "lightfast" or "washfast." Submerging them in water -even lukewarm- can cause the dye to "run" or bleed into the rest of your work, which can, sadly, ruin your beautiful piece.
If your work is made with these specialty materials, a gentle steam-press with the iron (avoiding direct contact with the front) is usually all you need to get those creases out safely.