Welcome To My Introduction For "How To Cross-Stitch"
I hear from people often that they are impressed with the ability to cross-stitch. And I wanted to let you all in on a little secret: Anybody can do this. It's not magic (although it can look absolutely magical!). It's not a skill that takes years to master. It's not expensive to get started.
In fact, there are many articles written about embroidery in general that show how beneficial it is to alleviate anxiety and depression.
Table of Contents For Lesson 1
... I wanted to let you all in on a little secret: Anybody can do this!

What you need
First of all, the supplies you need. The absolute bare minimum you will require before you can start cross-stitching is:
There are other things you can get to help you along the way such as an embroidery hoop or a needle minder, but they aren't required.

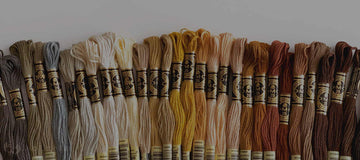
Using Embroidery Thread

What is 'embroidery thread'?
Believe it or not, there are many different types of embroidery thread.
Embroidery -in which cross-stitch is one form of- uses floss that comes in 6 strands that can be split up. For cross-stitching, we generally use cotton thread as it has a soft, gentle look to it, is relatively strong and is somewhat reliable to colour to exact matching dye lots (since as of posting this, DMC -the leading floss provider worldwide- has over 500 different colours). It's also easy to manufacture, keeping costs down.
There are also metallic threads (which are quite difficult to work with as they are not as pliable as cotton is), Perle cotton (shiny and gives a different look to the finished product), wool and silk.

What do you mean by 'splitting' it?
Embroidery floss is made up of 6 smaller strands of thread. To create the look you want for a piece, you pull out as many strands of floss you need (EG: I was taught that for 14ct Aida (see below), you are to use 3 strands of floss, which in a way makes the thread go twice as far as if you were to use all 6 strands!).
This also allows you to combine different strands of different colours to create variations in the finished look. I use this technique to create things like hair, denim and fur in my stitch people portraits.
Aida cloth counts

What do the number counts mean?
Aida cloth is the most common fabric to use to create cross-stitches due to its gridded design with easy-to-pierce holes. It helps you keep your crosses uniform in size and straight, which is important for the overall look of a completed cross-stitch piece.
Aida cloth can come in numerous different colours, with white probably being the most popular to use because of its clean look.
OK Kate, but what do the numbers mean?
Well, the count number of Aida cloth is how many squares fit into one inch. So a 14ct piece of fabric is going to have much larger squares than an 18ct piece of fabric since there is more room to fit 11 within 1 inch.
See my image example of the grid sizes between 14ct and 18ct.
My personal recommendation is to stitch pieces using 14ct unless otherwise stated. Why? Generally speaking, this is the universal "recommended size" for a piece. Patterns that don't state a grid size, 99/100 times it's implying you use 14ct.
It's also easy to get beautiful colours in 14ct since it is the "universal" used size, so you can go wild with what background colour you stitch on.
Needle types and sizes

What kind of needle should you use?
There are two types of needles used in embroidery work: "Crewel" and "Tapestry".
Tapestry needles are more commonly used in cross-stitch as they have a rounded end and a long eye (the part where you poke the thread through) so it's easier to work with when using Aida cloth.
Crewel needles have a pointed end and [also] a long eye. They can also be helpful to use for cross-stitching as they can assist in doing fractional stitches. I use crewel needles when doing stitch people hair since I have a finer point to work with to make the "hair strands" go exactly where I want them to.
What are the numbers about?
The needle's number is the circumference of the needle. The higher the number, the tinier the needle. It usually also means the tinier the eye of the needle, which some people find hard to thread the floss in to.
I generally use size 24 for cross-stitching with 14ct Aida and either 26 or 28 for cross-stitching 18ct.
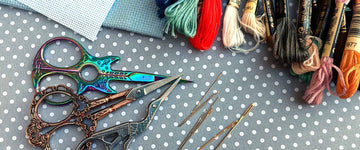
Scissor care
Why get special scissors?
Embroidery scissors can come in all shapes, sizes and types. Your mum or grandmother might have scolded you as a child if you went to use her embroidery scissors to cut some paper or something equally 'mundane'. Why's that?
Well, that's because embroidery scissors are designed to be extra sharp and cutting them on non-thread things dulls them incredibly fast.
It's important to use scissors that are super sharp to cut your threads so you have a clean finish. It makes it 100x easier to thread your needles if you don't have little wispy bits at the end of the thread! It also means you don't inadvertently fray the thread when cutting it, since you may need to go back and redo work if it cuts poorly.
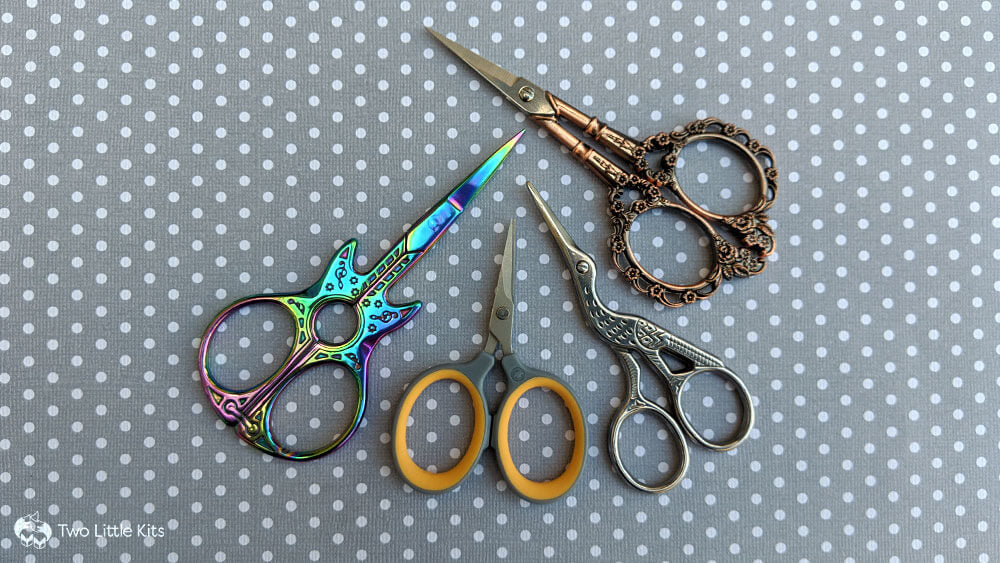
Have fun with them
As you can see, I have a little variety of scissors I keep. They all have different ends (pointed or rounded can assist in the piece I'm working on), some are bent to get into hard to reach places (not shown) and tiny little scissors are perfect for using on an airplane or fitting into my on-the-go, work-in-progress.
Wrap up
Next time, we'll actually start doing cross-stitches and I'll explain (as best as I can!) things like how to make the crosses, options in directions and the difference between Danish and English methods.