What is PCStitch exactly?
PCStitch is a PC-version-only program that allows you to create cross-stitch and blackwork patterns either for personal use or for sale. I first purchased the software back in 2018 after trying to design my own patterns using only pencils and paper and hating it. It felt clunky, time-consuming and inefficient. I did some research, found a discount to PCStitch and haven't designed a pattern entirely on paper ever since.
I just want to make it clear - I'm in no way endorsed by PCStitch or anyone involved in the application that makes it. I just have used the program quite a bit and have gotten questions about how to use it properly/effectively over the past few years.
Jump to a section:
Getting started
The first thing you may be met with (depending on your settings) is a preference setting where you are asked to select your canvas size, "cloth" colour and other selections. There's no right or wrong way to set all of this up initially - it depends on your needs and design preferences. But more importantly, all of this can be changed and adjusted afterwards.
I do recommend unless you have a specific need, you should keep your stitches to be "square weave" otherwise you will get a distorted finished size when printing your PDF. So unless you know you have a need to change this, just keep that as-is.


How I set up
I personally set up a canvas size of 150x150 squares to get started with, stitches (not inches, unless I'm designing within a constraint) measurement, grey cloth colour (so I can see white stitches placed) and grid count to be by 5's. A lot of the other preferences I haven't tweaked because what it started out with either work perfectly fine for me or I didn't find a need to change them (such as object size settings and displaying how many strands used).

Choosing floss
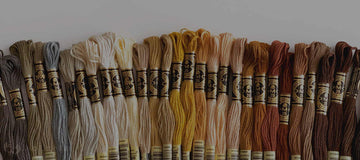
The other main thing to note is how to pick your floss colours! I highly recommend getting a floss colour chart (from a craft store or online), ideally one with real floss for each colour; that way you aren't relying on your computer monitor to pick the right colours. I've noticed the colours shown in PCStitch don't always correspond correctly to the floss colour itself.
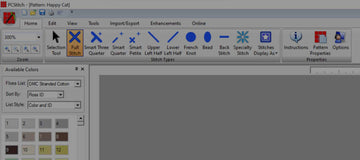
When you open the program, you should have the selection of available colours to choose from on the left-hand side of the program. Double-clicking any of these colours will add that floss to your project's palette, which will be located at the bottom of the program.

View Stitches As Options
While you are designing your pattern, there are different ways you can view your design. I would recommend the first option of the 5 - "Solid Blocks" view, which means you're only seeing the selected floss colour per square. Nothing fancy, basically what you would see if you were a pixel artist! Which you are!


The other view options are mostly available to you for when you complete your design, so you can create a usable, legible pattern. Or -just for funsies- make it look like it's already produced as a cross-stitch, in a way!
How do I actually design my pattern?
Well, in my opinion, that's the easy part - you use the different stitch options to paint/draw/place… whatever you want to call it! You know all the stitches by now ( and if you don't, head over to my beginner's lessons on how to cross-stitch 101 ) so just match the name with the corresponding icon and get designing!

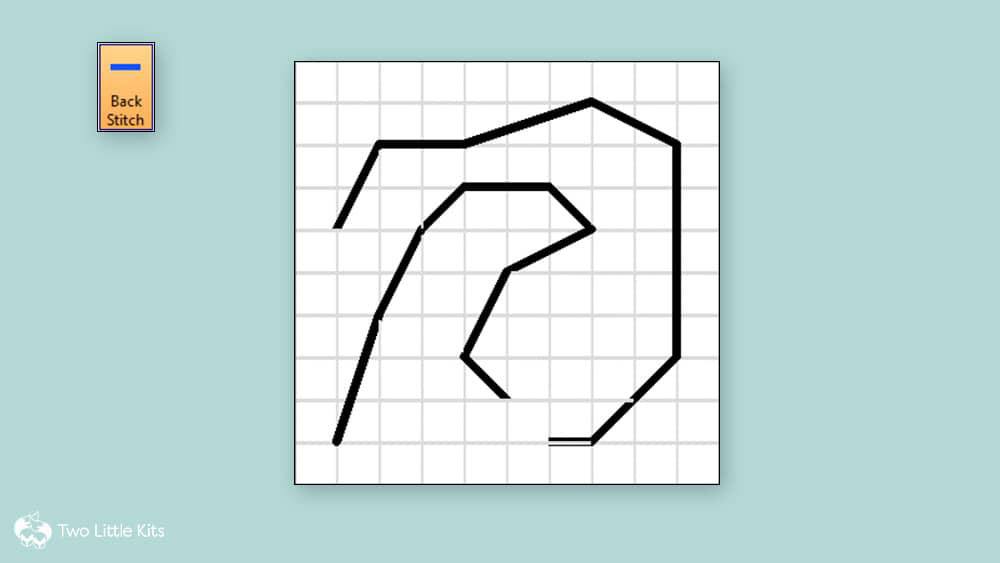


Once you've used these tools for a little while, it will become easy to get the kind of look and feel you desire for your patterns. Honestly, I feel this is the easiest part of learning how to use PCStitch. It's all the extra fiddly bits and pieces that are the tricky part!
Editing or adjusting your design
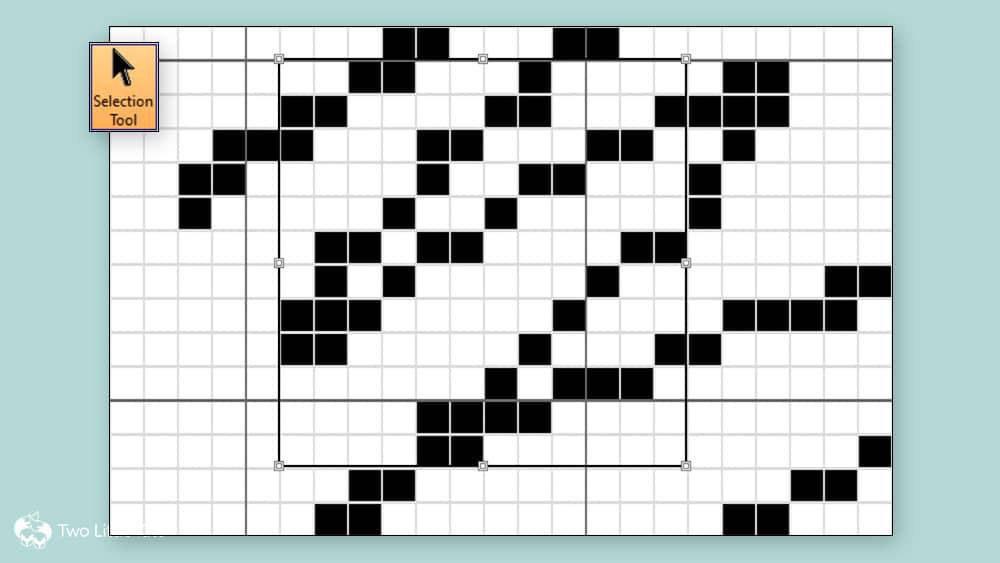
You'll inevitably mess up or want to adjust something while designing. There are a few extra tools you should know before you feel like a master of PCStitch.

Let's get this bad boy printed!
Your design is complete and you're ready to be able to take it away from the computer and get stitching! So let's print our masterpiece! Please note though; you will need to be using a paid version of PCStitch to be able to save or print your finished PDF.
There's so much choice in how you want to print your finished pattern, that I just wanted to go over the important steps you should note. Keep things in mind, such as fitting your pattern into one or a specific number pages, how you are wishing to display your stitches (see "display stitches as" for this!) and if you wish to also print an information sheet.
The "Grid Option" or "Margins" tabs are not something I recommend playing with unless you know what to expect from your printer. I personally have just left this alone and my prints have come out as I would hope.

The information sheet
The sheet that tells you what symbols go with which floss number, which backstitch colour goes with which floss and how much thread is estimated (amongst other things)? That's your information sheet! To change the displayed details on your information sheet, use the "Information sheet" tab along the top to set this up for yourself.
The PCStitch software is a bit… testy when it comes to accurately printing your pattern in the correct orientation. If you are wanting to print in landscape, it should be the last thing you select (within the usual "Destination" setup, like when normally printing)
Please remember!
I want to make it clear that this is by no means a full, in-depth review of every single option, tool and ability that PCStitch can provide. This is the things I have used and taught myself how to use while using this application for my own patterns. I encourage you to explore and test out other parts of the software to see what else you like and want to also use!